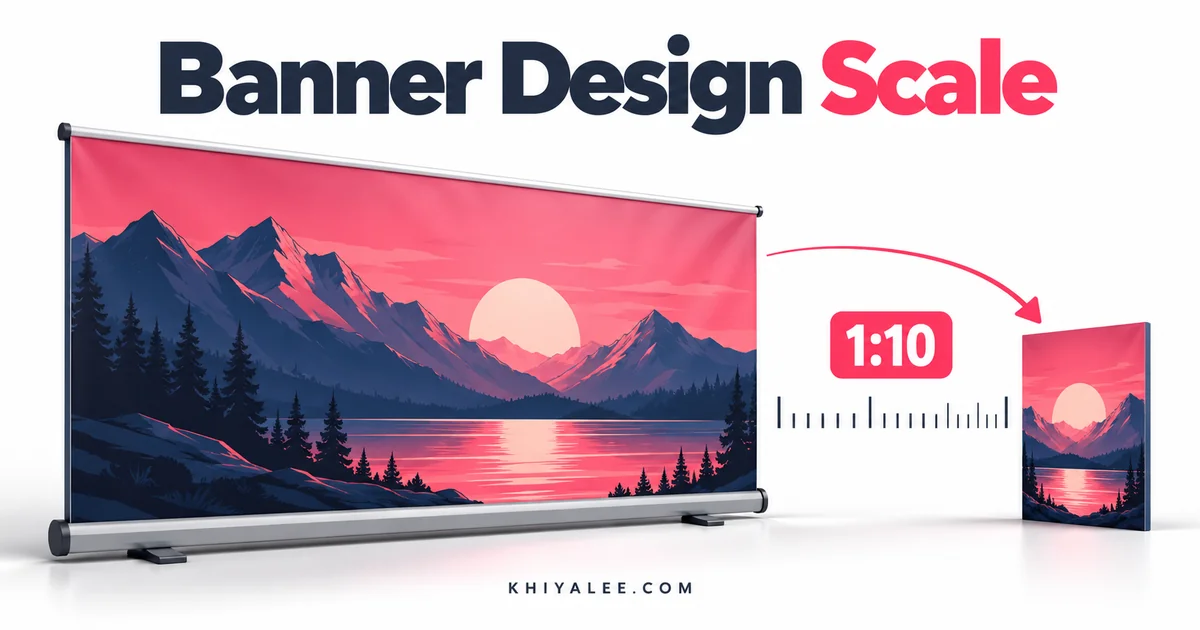
A banner design scale lets you create a smaller working document while preserving the proportions of a large printed sign. At a 1:10 scale, divide both finished dimensions by ten. This tutorial explains the size calculation, effective resolution and handover notes that help avoid production errors.
Try the free tool
Banner Design Scale Calculator: 1:10 and Custom
Try it: Open the related Khiyalee tool while following the examples below.
In this guide
- What a 1:10 working scale means
- Worked example using inches
- Understand effective resolution after enlargement
- Treat bleed and finishing allowances consistently
- Send a production note with the design
What a 1:10 working scale means
A 1:10 document represents one unit in the file for every ten units in the finished output. It changes the working dimensions, not the intended final banner size. A full-size 10 × 4 foot banner becomes a 1 × 0.4 foot document at this scale. Keep width and height at the same scale so the design remains proportional. Scaling one dimension alone distorts the artwork.
Worked example using inches
Ten feet equals 120 inches, and four feet equals 48 inches. Divide both by ten to produce a 12 × 4.8 inch working document. The printer must enlarge that file ten times to reach the finished size. Label the job clearly with both the scale and final dimensions. Without that information, a small PDF may be interpreted as a small sign rather than a reduced version of a large one.
Understand effective resolution after enlargement
Raster images lose effective PPI when enlarged. A 300 PPI raster image in a 1:10 working document becomes effectively 30 PPI when the document is enlarged ten times. To reach a sample 100 PPI at full size, the reduced raster representation would need an effective 1,000 PPI at the working size. This arithmetic does not mean every banner requires 100 PPI; confirm the output requirement first.
Treat bleed and finishing allowances consistently
Ask whether the supplier wants bleed specified at the working scale or the final size. If an allowance is reduced with the artwork, its working value must reflect the same scale. Do not add a final-size allowance to a reduced document without explanation. Keep important text away from mounting hardware and finished edges, and confirm how hems, pockets or frames affect the visible area.
Send a production note with the design
A useful note says the final size, working scale, output orientation and any finishing requirements. Export a proof that shows the entire sign, and check text and contact details. Preserve the editable source so a change can be made without recreating the layout. If the printer accepts full-size vector artwork comfortably, a reduced scale may not be necessary at all.
How to use the tool: step by step
- Ask the printer whether reduced artwork is acceptable.
- Choose the scale and divide both physical dimensions by the same factor.
- Check effective raster resolution at the intended final size.
- Label the export with its scale and finished dimensions before sending it.
Frequently asked questions
Is 1:10 the only possible banner design scale?
No. Other ratios can be used when the printer agrees. Choose a ratio that is easy to document and apply consistently.
Does scaling make a blurry image sharp?
No. Working at a different document size does not restore missing image detail.
Can I leave the scale information out?
Avoid that. Include the scale and full-size measurements so the printer can interpret the file correctly.
Further reading
For background on the topic, see Adobe: image size and resampling. The worked examples in this guide are illustrative.
Banner design scale: try the tool
Open the working tool to apply this guide to your own inputs. For the next part of your workflow, explore Panaflex Size Calculator: Feet to Pixels & Print PPI, or browse the complete tools directory.
Ready to try it? Open the tool and follow the steps in this guide.