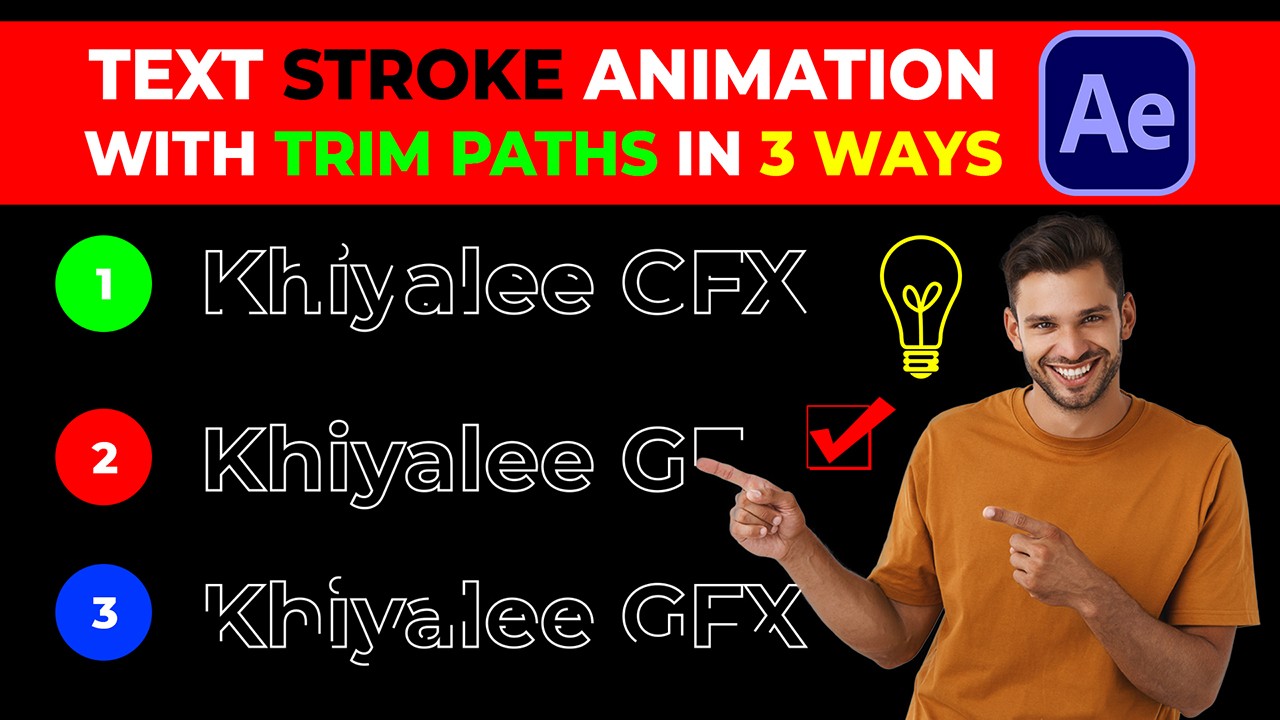
After Effects: How To Use Generate Stroke Effect
Learn how to create stunning stroke animations in Adobe After Effects using the Generate Stroke effect and Trim Paths feature. This tutorial covers three different ways to create dynamic text animations with no fill and a coloured stroke. Perfect for motion graphics artists and video editors looking to elevate their skills. English subtitles are provided. Are you looking for a way to create an eye-catching text animation in Adobe After Effects CC? The Generate Stroke Effect is a useful tool that can help you achieve just that. In this tutorial, we will explore how to use the Generate Stroke Effect to create text with a colored stroke and no fill. We will also cover Trim Paths animation, line animation, and motion graphics. Let’s get started!
How To Use Generate Stroke Effect in After Effects
- Open Adobe After Effects CC and create a new composition.
- Create a text layer by going to the Composition menu and selecting New > Text.
- Select the text layer and go to the Effects & Presets panel. Search for the Generate Stroke Effect and apply it to the text layer.
- In the Effect Controls panel, you can adjust the stroke width, colour, opacity, and other parameters to achieve the desired effect.
- To animate the stroke, go to the Timeline panel and click on the arrow next to the text layer to reveal its properties. Click on the arrow next to the Generate Stroke Effect to reveal its properties.
- Click on the stopwatch icon next to the End parameter to set a keyframe. Move the current time indicator to a later point in the timeline and adjust the End parameter to increase the length of the stroke. Repeat this process to create a stroke animation that suits your needs.
Text Stroke Animation With Trim Paths
Trim Paths is another useful tool that can help you create more complex stroke animations. Here’s how to use it:
- Create a new composition and add a shape layer. Use the Pen tool to draw a line or shape.
- In the Effects & Presets panel, search for the Trim Paths effect and apply it to the shape layer.
- In the Effect Controls panel, adjust the Start and End parameters to reveal or hide the shape.
- To animate the stroke, set keyframes for the Start and End parameters at different points in the timeline. Adjust the values to create a smooth animation.
3 Ways To Create Stroke Animation in After Effects
- Using the Generate Stroke Effect – This method is great for creating simple stroke animations for text or shapes.
- Using the Trim Paths Effect – This method is useful for creating more complex stroke animations, such as animated illustrations or logos.
- Using the Stroke Effect – The Stroke Effect is another tool you can use to create stroke animations. It offers more options than the Generate Stroke Effect but may be more challenging to use for beginners.
FAQS
Q: What is After Effects?
A: Adobe After Effects is software used for creating visual effects and motion graphics in the post-production process of filmmaking, video games, and television production.
Q: How do I install After Effects?
A: You can purchase and download Adobe After Effects CC from the Adobe website. Once downloaded, follow the installation instructions to install the software on your computer.
Q: Can I create animations with After Effects?
A: Yes, After Effects is an excellent tool for creating animations, including text animations, logo animations, and more. With its wide range of tools and effects, you can bring your creative vision to life.
 My Account


Your article gave me a lot of inspiration, I hope you can explain your point of view in more detail, because I have some doubts, thank you.