Learning how to add print bleed helps prevent unwanted white edges after a design is trimmed. Bleed extends backgrounds and edge artwork beyond the final cut line. This guide explains the document-size calculation, a business-card example and the checks to make before exporting your artwork.
Try the free tool
Print Bleed Calculator: Trim to Document Size
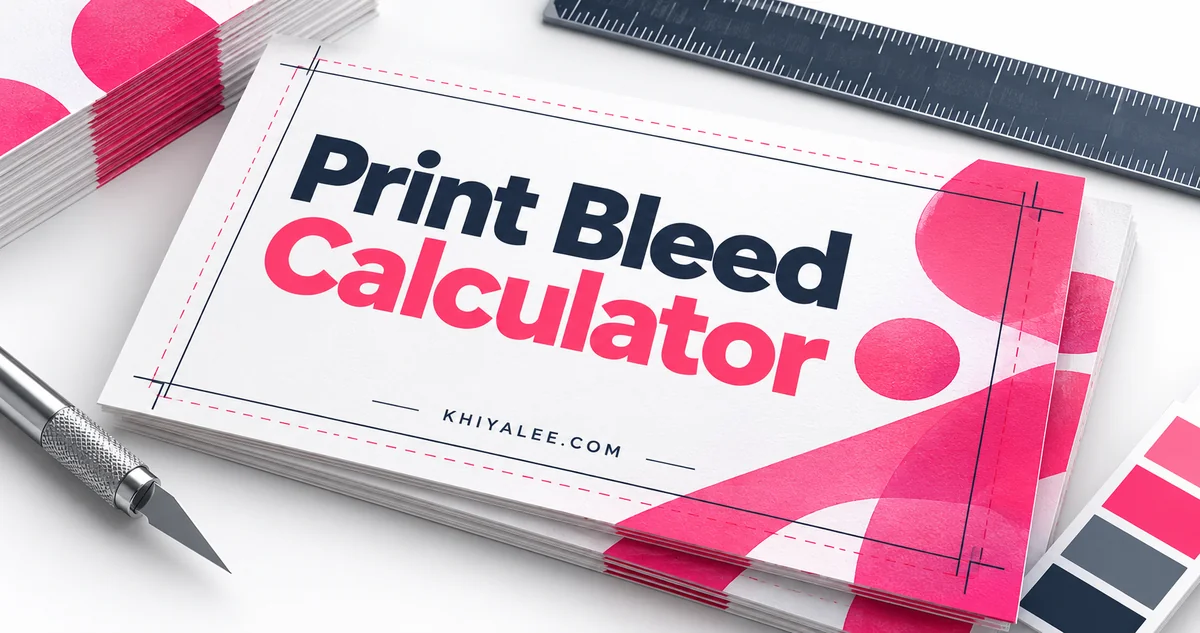
Try it: Open the related Khiyalee tool while following the examples below.
In this guide
- Know the difference between trim, bleed and safe space
- Worked example: 90 × 50 mm with 3 mm bleed
- Set up the design document correctly
- Keep small text and logos away from the cut
- Inspect the exported artwork before sending it
Know the difference between trim, bleed and safe space
Trim is the intended finished size. Bleed is artwork outside that size, available to accommodate slight cutting variation. Safe space is inside the trim line, where you keep important text and logos away from the cut. These three areas serve different purposes. Adding an empty border outside the design is not enough: the background or image needs to extend into the bleed area.
Worked example: 90 × 50 mm with 3 mm bleed
If the printer requests 3 mm bleed on every side, add 6 mm to the width and 6 mm to the height. A 90 × 50 mm finished card therefore needs an overall artwork extent of 96 × 56 mm. The trim remains 90 × 50 mm. This is an illustration using a requested 3 mm allowance; confirm the actual allowance with the printer instead of assuming the example applies to every job.
Set up the design document correctly
In software with dedicated bleed settings, keep the page or artboard at the finished size and enter the bleed separately. Extend any edge background to the bleed guides. In a workflow that requires a larger raster canvas, follow the printer’s instructions for the overall size and trim guides. Do not mix these two approaches without checking how the exported file will be interpreted.
Keep small text and logos away from the cut
Bleed does not protect information placed too close to an edge. Use a suitable inner safe margin, as agreed with the printer. Check phone numbers, QR codes and fine borders particularly carefully. A thin frame around the edge can make small cutting variation obvious. If the design relies on a precise border, ask the supplier whether a different layout would be more reliable.
Inspect the exported artwork before sending it
Check that the export includes the required bleed and that backgrounds actually reach the outer boundary. Crop marks should be included only when requested. Open the exported file rather than checking only the editable document. Confirm the finished dimensions, front-and-back alignment and readable text. A short approval checklist often catches a mistake before it becomes a box of unusable cards.
How to use the tool: step by step
- Confirm the finished width, height and bleed allowance with the printer.
- Enter those values in the print bleed calculator using millimetres.
- Extend edge artwork to the bleed boundary while keeping essential text inside safe space.
- Export, reopen and verify the file before approving production.
Frequently asked questions
Does adding bleed change the finished card size?
No. The extra artwork is intended to be cut away. The trim size remains the requested finished size.
Is a white border the same as bleed?
No. Bleed usually continues the edge artwork outside the trim. An unintended white border can remain visible after cutting.
Should every file include crop marks?
Only if the printer requests them. Production workflows differ, so follow the supplier’s export specification.
Further reading
For background on the topic, see Adobe: printer’s marks and bleeds. The worked examples in this guide are illustrative.
How to add print bleed: try the tool
Open the working tool to apply this guide to your own inputs. For the next part of your workflow, explore Sticker Sheet Layout Calculator: Labels per Sheet, or browse the complete tools directory.
Ready to try it? Open the tool and follow the steps in this guide.