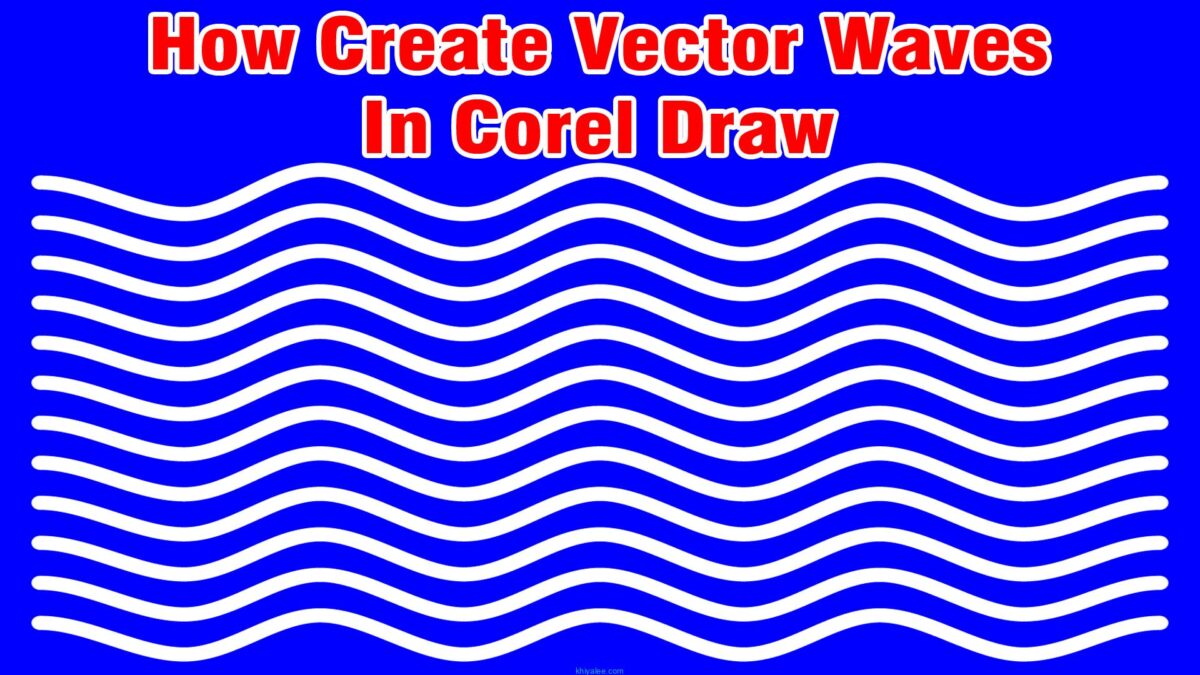
How to create vector waves in CorelDRAW
Introduction
Creating vector waves in CorelDraw is a rewarding endeavor that allows for the exploration of graphic design through intricate shapes and styles. This comprehensive guide will walk you through the essentials of designing stunning vector waves, offering tips and techniques suitable for beginners. Understanding the tools at your disposal will not only enhance your artistic abilities but also appreciate the importance of vector graphics in various applications, from web design to print media.
Understanding How to create vector waves in CorelDraw
What are Vector Waves?
Vector waves refer to smooth, flowing shapes that can be created using vector graphics software like CorelDraw. Unlike raster images, which are made up of pixels, vector images utilize mathematical equations to render shapes. This means they can be scaled infinitely without losing quality, making them ideal for designs that require resizing or manipulation.
Importance of Using Vector Graphics
Using vector graphics is particularly important in today’s digital landscape. They offer versatility in design, allowing artists and designers to create scalable images that maintain clarity at any size. Additionally, vector graphics tend to have smaller file sizes compared to raster images, making them easier to share and store. This quality is essential for web usage, where load times can significantly impact user experience.
Getting Started with CorelDraw
Installing CorelDraw
To embark on your journey of creating vector waves, the first step is installing CorelDraw. The software is available for both Windows and Mac operating systems. You can opt for a trial version to familiarize yourself with its features before committing to a purchase. Installation is straightforward; simply follow the prompts provided in the setup wizard.
Overview of CorelDraw Interface
Once installed, launch CorelDraw to explore its user-friendly interface. The main components include the Toolbars, the Property Bar, and the Drawing Window. Toolbars house various tools essential for your designs, while the Property Bar offers specific options based on the selected tool. Getting accustomed to these elements will significantly enhance your workflow and efficiency in creating vector waves.
Creating Your First Vector Wave
Setting Up the Canvas
Before diving into design, it’s crucial to set up your canvas appropriately. Open a new document and select the dimensions suitable for your project. Whether you’re designing for a website or a printed material, the canvas size will dictate how your vector wave appears. Consider the aspect ratio and resolution, as they greatly influence the final output quality.
Choosing the Right Tools
CorelDraw offers a plethora of tools specifically tailored for vector design. For creating waves, focus on the Pen Tool and the Bézier Tool. The Pen Tool allows for precise point placement, making it ideal for crafting intricate curves, while the Bézier Tool offers more fluidity in creating smooth, flowing designs. Understanding these tools is fundamental to your success in creating captivating vector waves.
Step-by-Step Techniques
Using the Pen Tool for Wave Design
To begin designing your vector wave, select the Pen Tool from the toolbar. Click to create anchor points that define the shape of your wave. As you place each point, hold and drag to create curves. The ability to manipulate these points is crucial, as they dictate the wave’s flow and smoothness. Experiment with both straight and curved lines to achieve the desired effect.
Creating Smooth Curves with Bézier Tool
The Bézier Tool is your ally in achieving elegant curves. Once you’ve set the initial points with the Pen Tool, switch to the Bézier Tool to refine your design. Click and drag on the anchor points to extend their handles, which adjust the curvature of the lines. This technique is particularly effective for creating undulating waves that appear more natural and dynamic.
Adjusting Nodes for Precision
After establishing the basic shape of your wave, it’s time to fine-tune the nodes. Use the Shape Tool to select individual nodes and adjust their positions. This precision is essential for achieving a polished look. By clicking on a node, you’ll be able to shift its location and manipulate the handles to alter the curvature. This step is vital for ensuring that your vector wave flows smoothly and aesthetically.
Enhancing Your Vector Waves
Applying Gradients and Colors
Once your vector wave is shaped to your liking, consider adding color and gradients to enhance its visual appeal. CorelDraw provides a robust color palette along with gradient fills that help bring depth to your design. Select the object, then navigate to the Fill Tool to choose a solid color or gradient. Gradients, in particular, can create a sense of movement and dimension, vital for making your waves pop.
Adding Effects for Depth
To further elevate your vector wave design, consider using effects such as transparency, shadows, or 3D effects. These elements can create a sense of layering that adds complexity to your design. For example, applying a slight drop shadow can make your wave appear to float above the background, while varying transparency levels can add a soft touch. Experiment with these effects to see how they alter the perception of your vector wave.
Tips for Beginners
Common Mistakes to Avoid
As a beginner, it’s easy to fall into several common pitfalls. One frequent mistake is neglecting to save your work frequently. CorelDraw can sometimes experience crashes, and losing your progress can be devastating. Another common error is not properly utilizing layers. Layers allow for better organization and make it easier to edit specific parts of your design without disrupting the entire project.
Resources for Further Learning
To continue improving your skills, consider exploring online resources such as tutorials, forums, and courses dedicated to CorelDraw and vector design. Websites like Udemy, Lynda, or even YouTube offer various tutorials tailored to different skill levels. Engaging with community forums can also provide invaluable feedback and insights from experienced designers.
Conclusion
Creating vector waves in CorelDraw is an art form that combines technical skills with creativity. By understanding the fundamentals of vector graphics and mastering CorelDraw’s tools, you can produce stunning designs that are both versatile and visually appealing. Remember to practice consistently, explore new techniques, and learn from both successes and mistakes. The journey of graphic design is continuous, and each project presents an opportunity for growth.
FAQs
What is the difference between vector and raster graphics?
Vector graphics use mathematical equations to create shapes, allowing for unlimited scaling without loss of quality, while raster graphics are made of pixels and can become pixelated when resized.
Can I use CorelDraw for professional design work?
Yes, CorelDraw is widely used by professionals in various fields such as graphic design, fashion design, and advertising due to its versatile features.
What types of projects can I create with vector waves?
Vector waves can be used in various projects including logos, backgrounds, and illustrations for print or digital media.
How can I improve my CorelDraw skills?
Practice regularly, follow online tutorials, and engage in design communities to learn new techniques and receive feedback.
