How Create Sun Shapes in CorelDraw x3 tutorial
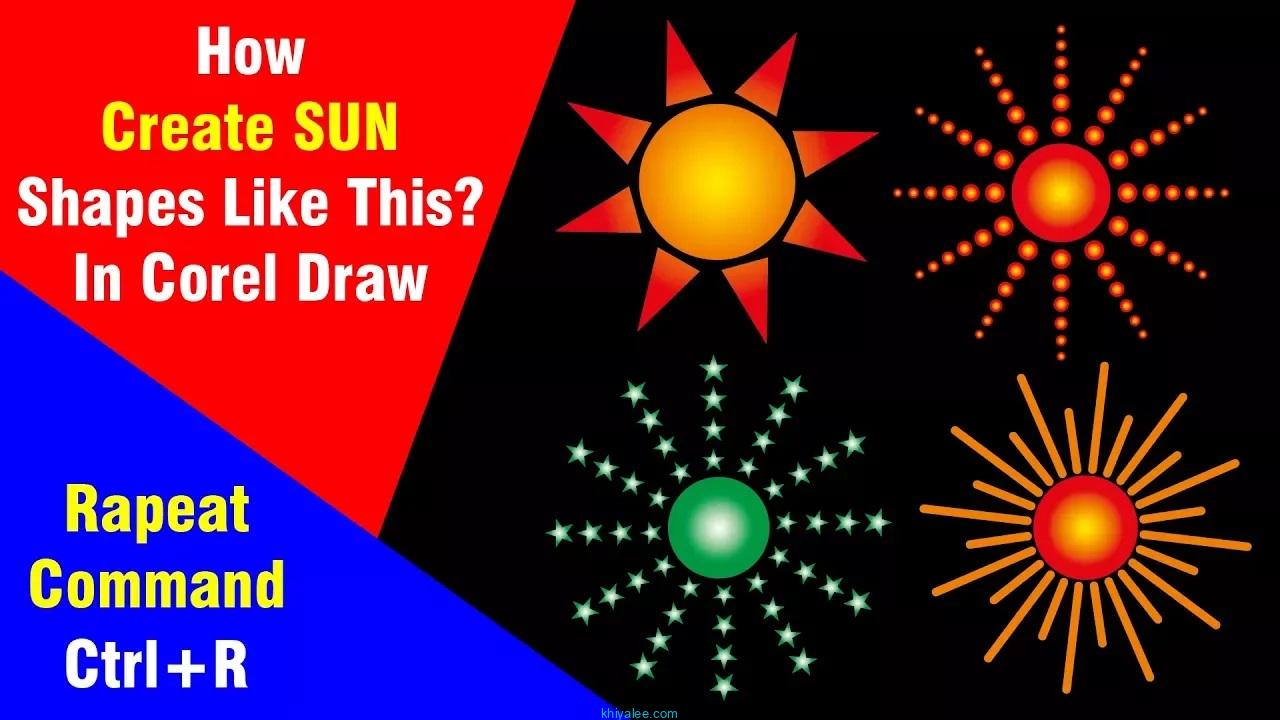
How to Create Sun Shapes in CorelDraw x3 tutorial: A formal and creative guide for beginners. Learn the step-by-step process of creating stunning sun shapes in CorelDraw, a popular graphic design software. Master the art of using CorelDraw tools to design vibrant and dynamic sun shapes that will add a radiant touch to your projects. Elevate your design skills with this comprehensive CorelDraw tutorial for beginners.
More CorelDraw tutorials in Hindi
Mastering Sun Shapes in CorelDraw X3: A Step-by-Step Tutorial for Beginners
Introduction
CorelDraw X3 is a powerful vector graphic design software that allows users to create stunning visuals for various applications, including logos, illustrations, and promotional materials. One of the most captivating designs to master is the sun shape, which can be used in everything from logos to seasonal greeting cards. This tutorial aims to guide beginners through the process of creating beautiful sun shapes in CorelDraw X3, highlighting essential techniques and providing tips for optimizing your designs.
Getting Started
Installing CorelDraw X3
Before diving into design, ensure you have CorelDraw X3 installed on your computer. The installation process is straightforward. First, insert the installation CD or download the software from a reputable source. Follow the on-screen instructions to complete the setup. Once installed, launch the program to start your design journey.
Setting Up Your Workspace
Configuring your workspace is critical for a seamless design experience. Open CorelDraw X3 and navigate to the “Window” menu, then select “Workspace.” Choose a layout that suits your preferences, such as “Essentials” or “Classic.” Familiarize yourself with the toolbox, color palette, and layout options, as these will be essential for creating your sun shape.
How to Create Sun Shapes in CorelDraw X3 Tutorial
Step 1: Creating the Base Circle
The first step in creating a sun shape is to draw a perfect circle, which serves as the sun’s core. Select the Ellipse Tool from the toolbox or press the shortcut key “F7.” Click and drag on the canvas while holding down the “Ctrl” key to constrain the proportions, ensuring a perfect circle. Adjust the circle’s size as needed using the object properties bar.
Step 2: Adding Sun Rays
Next, it’s time to add rays to your sun. You can create sun rays using the Polygon Tool. Select the Polygon Tool from the toolbox, set the number of sides to 12, and draw a triangle. Position this triangle around the perimeter of the circle. You can duplicate the ray by selecting it, holding the “Ctrl” key, and dragging it around the circle. Use the “Ctrl+D” shortcut to duplicate and rotate the rays effectively around the sun’s core.
Step 3: Customizing Ray Shapes
To make your design more dynamic, customize the ray shapes. Select one of the rays and use the Shape Tool (F10) to manipulate its nodes. You can elongate, shorten, or reshape the rays into various forms—curved, wavy, or pointed. This flexibility allows you to create unique sun shapes that suit your design theme. Experiment with different shapes to find what resonates best with your vision.
Step 4: Coloring Your Sun
Coloring is a vital part of any graphic design. Choose vibrant yellows, oranges, and reds to bring your sun to life. Select the circle and rays, then navigate to the color palette. You can apply a solid color or opt for gradients for a more sophisticated look. To apply a gradient, select the object, go to the ‘Fill’ option, and choose ‘Fountain Fill.’ Adjust the color stops to create smooth transitions that mimic the warm glow of the sun.
Step 5: Final Adjustments and Effects
Once your sun shape is complete, make final adjustments to ensure everything looks polished. Group all elements by selecting them and pressing “Ctrl+G.” This action allows you to move and resize the entire sun shape as a single unit. You can also apply effects like shadows or 3D effects by selecting the object and exploring the “Effects” menu. This enhancement adds depth and dimension to your design.
CorelDraw Tutorial for Beginners: Tips and Tricks
Utilizing the Tools Effectively
Familiarize yourself with CorelDraw X3’s extensive toolset to maximize your design efficiency. Use shortcuts to streamline your workflow. For instance, pressing “V” selects the Pick Tool, vital for moving and scaling objects. Regularly save your work and utilize layers to keep your designs organized. Layers allow you to separate different elements, making it easier to edit specific parts without affecting others.
Common Mistakes to Avoid
As a beginner, it’s easy to fall into common traps. One frequent mistake is neglecting to use layers, which can lead to a cluttered workspace. Another is not saving work regularly. To avoid losing progress, save your work every few minutes or set up auto-save features in CorelDraw X3. Lastly, don’t hesitate to experiment; design is a process of trial and error. Embrace mistakes as opportunities to learn and improve.
Conclusion
Recap of Steps
In this tutorial, we’ve explored creating stunning sun shapes in CorelDraw X3, from setting up the workspace to applying finishing touches. Key steps included drawing the base circle, adding rays, customizing shapes, and applying colors. Each phase allows for creativity and personalization, ensuring that your design is unique and fitting to its purpose.
Encouragement for Further Exploration
Now that you’ve mastered the art of creating sun shapes, consider exploring more complex designs in CorelDraw X3. Experiment with different shapes, colors, and effects to enhance your skills further. The world of graphic design is vast and filled with opportunities to express your creativity. Dive in, practice, and let your imagination soar!


