Banner aspect ratio describes the relationship between width and height. Keeping that relationship unchanged lets you resize a layout without stretching people, logos or lettering. This guide covers proportional resizing, a simple formula and the choices to make when the new sign has a different shape.
Try the free tool
Banner Aspect Ratio Calculator: Resize Without Stretching
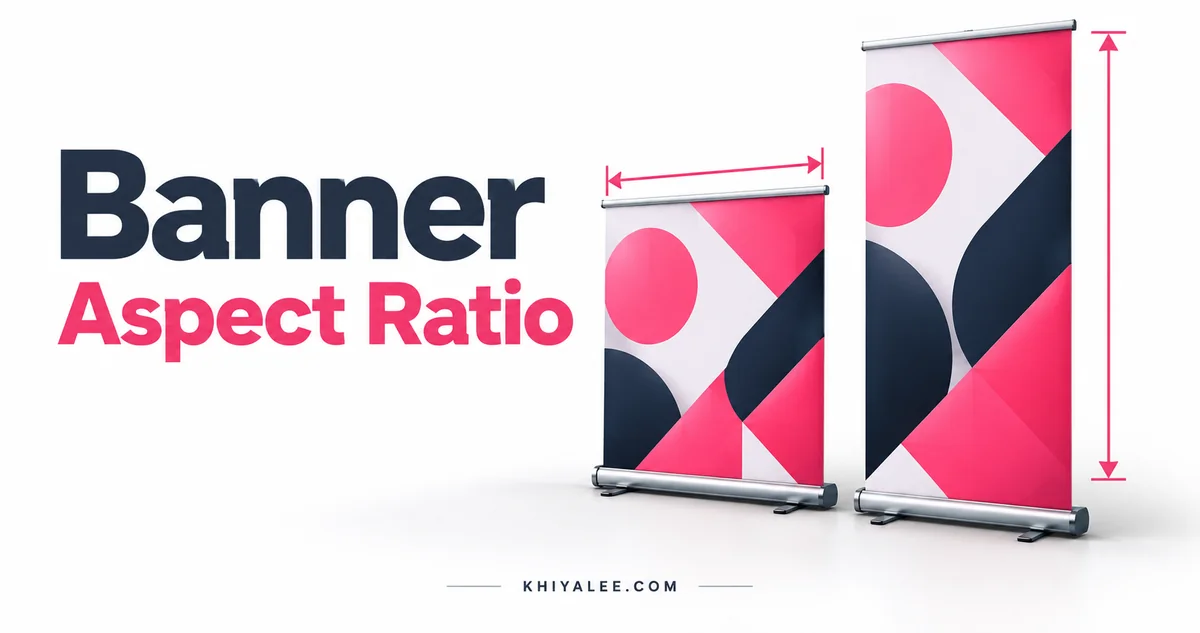
Try it: Open the related Khiyalee tool while following the examples below.
In this guide
- Reduce the dimensions to a useful ratio
- Worked example: resize 8 × 3 feet to 12 feet wide
- Choose between cropping and adding space
- Check pixel size after the proportions are correct
- Adapt the layout for different placements
Reduce the dimensions to a useful ratio
An 8 × 3 foot banner has an 8:3 ratio. A 12 × 6 foot banner reduces to 2:1 because both dimensions can be divided by six. The ratio has no unit: feet, inches and pixels produce the same relationship when width and height use consistent units. A wide banner and a square post can contain the same message, but they require different layouts rather than the same stretched image.
Worked example: resize 8 × 3 feet to 12 feet wide
Divide the original height by the original width, then multiply by the new width. Here, 3 ÷ 8 × 12 equals 4.5 feet. A proportionally enlarged version is therefore 12 × 4.5 feet. If the available space is 12 × 4 feet, the shape is different. You must choose whether to crop, add space or rearrange elements instead of simply changing both dimensions independently.
Choose between cropping and adding space
Cropping removes material near one or more edges. It can work when the background has spare room, but it may cut a phone number or logo. Adding space preserves the existing design and fills the extra area with a suitable background. For a professional sign, rearranging the text and images often produces a better result than either automatic choice. Preview the whole message before deciding.
Check pixel size after the proportions are correct
A correct aspect ratio does not guarantee enough image detail for printing. Once the new physical size is agreed, calculate pixel dimensions using the required PPI. Scaling a small raster image to a large banner may reveal blur even when its shape is correct. Check the effective size of photographs and logos, and use an editable or vector source when available.
Adapt the layout for different placements
A shop fascia, roadside board and social media announcement have different viewing conditions. Keep the main message readable and remove unnecessary detail rather than shrinking every element to fit. Check text line breaks, logo spacing and the balance of empty space. Use a separate composition when the target ratio changes significantly. That preserves readability and looks more deliberate than a distorted copy.
How to use the tool: step by step
- Enter the original width and height in the banner aspect ratio tool.
- Enter the new width to calculate the proportional height.
- Compare the result with the available installation space.
- If the shapes differ, redesign, crop carefully or add background space instead of stretching.
Frequently asked questions
Can I resize using different units?
Convert the measurements to consistent units before calculating the ratio or new dimensions.
Does a matching ratio guarantee print quality?
No. Ratio protects proportions; resolution and source-image detail determine other aspects of output quality.
What if the new banner must be exactly 12 × 4 feet?
Create a layout for that shape. Preserve the proportions of individual logos and images while adjusting their positions.
Banner aspect ratio: try the tool
Open the working tool to apply this guide to your own inputs. For the next part of your workflow, explore Panaflex Size Calculator: Feet to Pixels & Print PPI, or browse the complete tools directory.
Ready to try it? Open the tool and follow the steps in this guide.