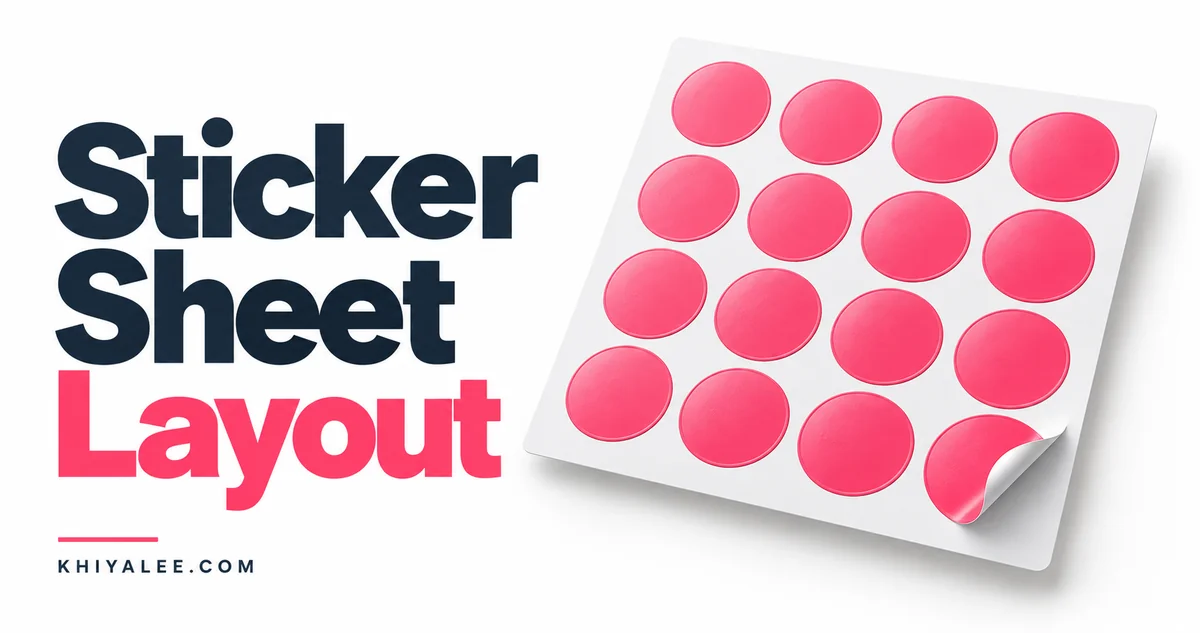
The number of stickers on an A4 sheet depends on sticker dimensions, page margins and the gaps between labels. A basic grid calculation gives a useful planning estimate. This guide shows a worked example and explains why cutter clearance and print settings still need to be checked.
Try the free tool
Sticker Sheet Layout Calculator: Labels per Sheet
Try it: Open the related Khiyalee tool while following the examples below.
In this guide
- Start with usable page space
- Worked example with 50 × 30 mm stickers
- Compare a rotated grid
- Work out the number of sheets for an order
- Check printing and cutting before committing
Start with usable page space
An A4 sheet is 210 × 297 mm, but a printer or cutter may not use the entire area. Subtract the required left and right margins from the width, and the top and bottom margins from the height. Registration marks and cutter requirements may take additional space. Use the production provider’s specifications rather than assuming a borderless sheet.
Worked example with 50 × 30 mm stickers
Suppose you use 10 mm margins on every side and a 3 mm gap. The usable area is 190 × 277 mm. Across the width, three 50 mm stickers plus two 3 mm gaps occupy 156 mm; four would require 209 mm and do not fit. Down the height, eight 30 mm stickers plus seven gaps occupy 261 mm. This regular grid fits 3 × 8, or 24 stickers.
Compare a rotated grid
Rotating the same rectangular sticker changes the row and column counts. With 30 mm across and 50 mm down, five columns occupy 162 mm and five rows occupy 262 mm, giving 25 labels. Check the tool’s two regular-grid orientations, but do not mistake this for an exhaustive nesting optimizer. A specialized production layout may use a different arrangement.
Work out the number of sheets for an order
Divide the requested sticker quantity by the labels per sheet and round up. At 24 labels per sheet, an order of 100 needs five sheets, producing capacity for 120 labels. A printer may recommend extra sheets for setup, trimming or spoilage. Decide how much spare capacity is appropriate after confirming production conditions, rather than assuming every sheet will yield perfect labels.
Check printing and cutting before committing
Keep the sticker artwork at its actual intended size and inspect the cutting outline. If bleed is needed, verify whether the layout gap accommodates it and any cutter clearance. Print a test at the correct scaling setting and measure a sample. A fit calculation cannot detect an export that was resized, a printer’s unprintable border or a misplaced registration mark.
How to use the tool: step by step
- Choose sheet size, sticker size, margins and gaps.
- Use the sticker sheet layout tool to compare grid orientations.
- Divide order quantity by the estimated yield and round up.
- Confirm bleed, registration and cutter requirements before production.
Frequently asked questions
Can circular stickers use the same calculation?
A simple rectangular grid uses the circle’s bounding dimensions. More advanced nesting may achieve a different yield.
Should I remove all gaps to fit more labels?
Only if the printer and cutting process allow it. Gaps are often needed for bleed and cutting tolerance.
Does the result include waste?
A geometric fit is a planning estimate. Allowances for setup or damaged sheets need to be considered separately.
Stickers on an A4 sheet: try the tool
Open the working tool to apply this guide to your own inputs. For the next part of your workflow, explore Print Bleed Calculator: Trim to Document Size, or browse the complete tools directory.
Ready to try it? Open the tool and follow the steps in this guide.